How to edit php.ini on Shared servers
This guide describes how to edit the php.ini file on shared servers (Stellar and Stellar Plus plans, as well as old Value, Professional, and Ultimate plans).
How to upload and edit an existing php.ini file
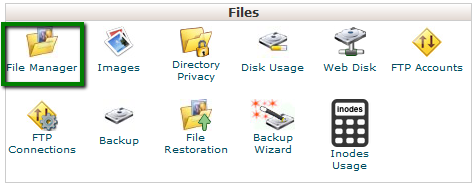
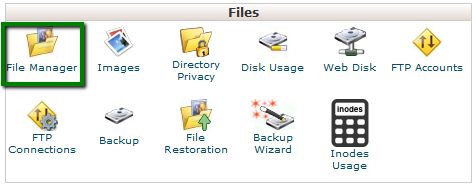
1. Log into your cPanel account, go to the Files section >> the File Manager menu.
For cPanel Basic Theme:
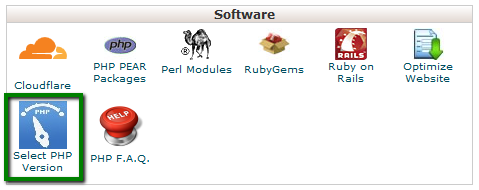
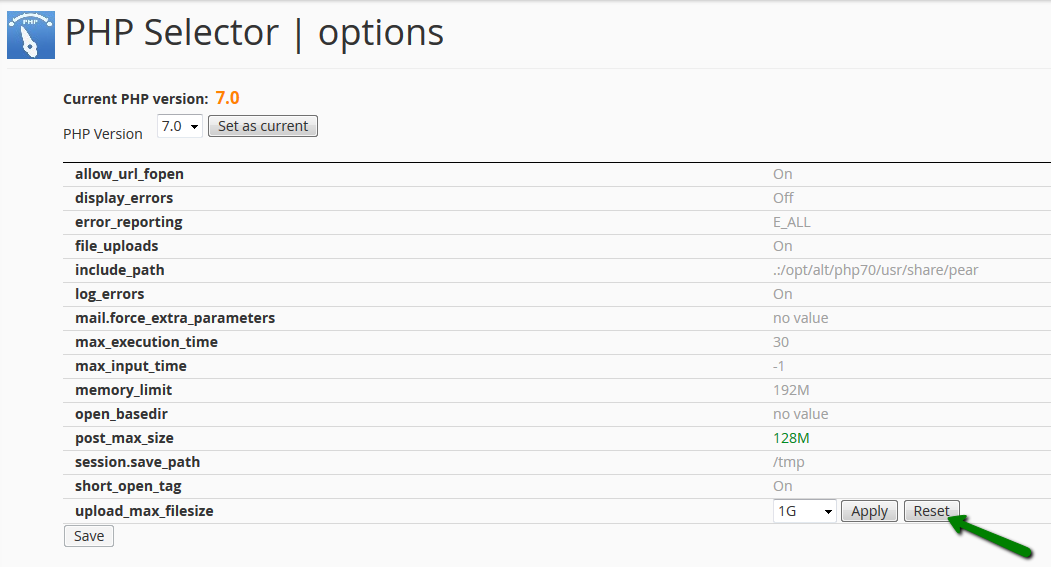
To check the current PHP version and configuration, refer to this article.If you wish to change values for the PHP settings (e.g., max_execution_time, memory_limit, post_max_size, upload_max_filesize, etc.), you must reset the values in the Select PHP version menu. This way, it will be possible to overwrite PHP settings using php.ini.1. Log into your cPanel account, go to Software section >> Select PHP version menu.For cPanel Basic Theme:


1. Log into your cPanel account, go to the Files section >> the File Manager menu.
For cPanel Basic Theme:

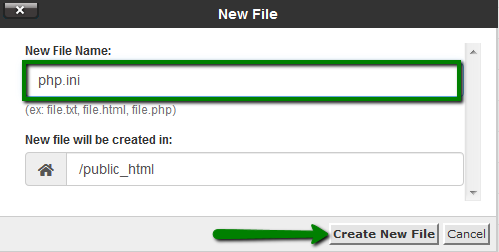
2. Navigate to the root directory of the domain name in question, upload the php.ini file that corresponds to your current PHP version. Feel free to download php.ini for different PHP versions below in the Attachments section at the end of the guide.
3. Once done, use the Extract option:
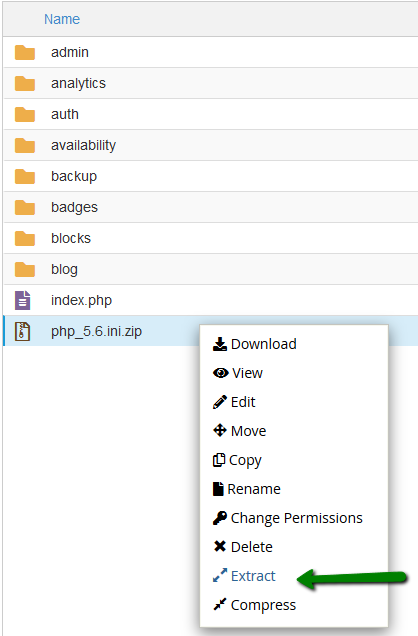
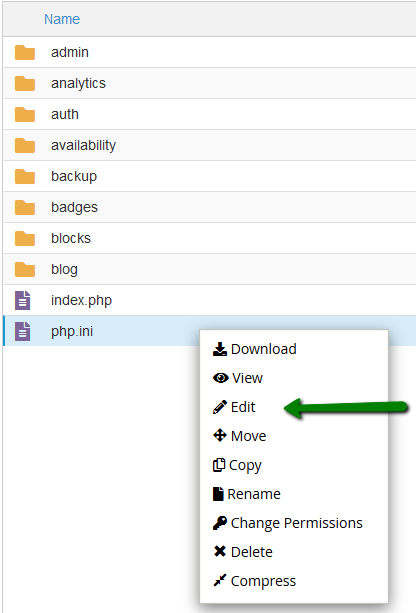
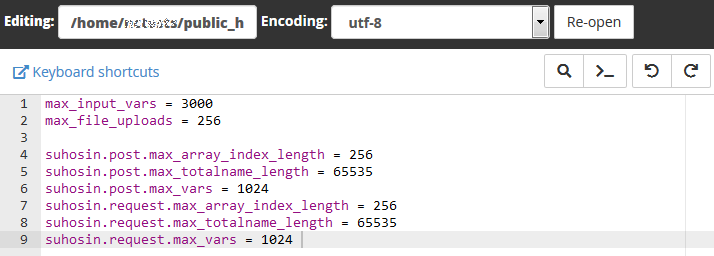
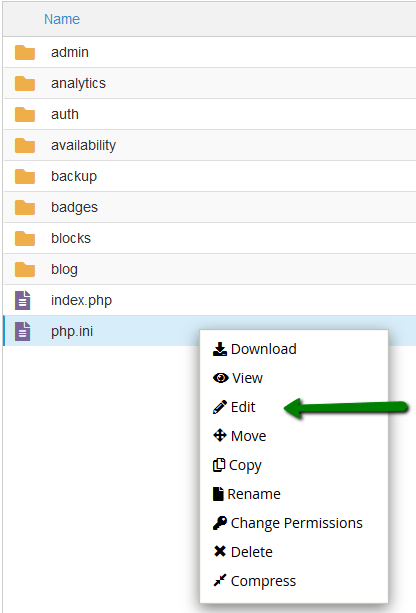
4. After that, right-click on php.ini.txt to Rename it php.ini, then another right-click to use the Edit option:
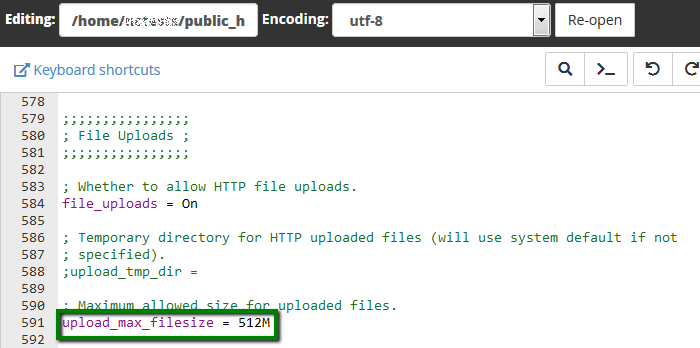
6. Once all the required changes are made, click Save.
In order for the php.ini to work, add lsapi_phpini directive.
That’s it!


